7 Steps to a Successful Residential Roof Replacement
Replacing a residential roof is a significant project that requires meticulous planning and execution. A successful roof replacement not only enhances the aesthetic appeal of your home but also ensures its structural integrity and protection from the elements. Here are seven crucial roof replacement steps to ensure your residential roof replacement project is a success.

Step 1: Conduct a Thorough Roof Inspection
Before starting any roof replacement project, it’s essential to conduct a comprehensive inspection of your existing roof. Conducting this initial step helps you understand the current condition of the roof and identify any underlying issues that require addressing.
What to Look For:
- Visible Damage: Check for missing, cracked, or curling shingles. Also, look for any signs of mold, mildew, or algae growth.
- Leaks and Water Damage: Inspect the interior of your home for water stains on ceilings and walls, which can indicate leaks. Check the attic for any signs of moisture or water damage.
- Structural Integrity: Ensure that the roof deck is solid and free from rot or other damage. Look for sagging areas that might indicate structural issues.
Tools and Techniques:
- Visual Inspection: Use binoculars to inspect hard-to-reach areas without climbing on the roof. This can help you spot visible damage from a safe distance.
- Moisture Meters: These tools can help detect moisture levels in the attic and under the roof deck, identifying potential leaks.
Step 2: Choose the Right Roofing Material
Selecting the appropriate roofing material is crucial for the longevity and performance of your new roof. Consider factors like climate, aesthetic preferences, and the architectural style of your home.
Popular Roofing Materials:
- Asphalt shingles are the most common choice due to their affordability and versatility. Available in various colors and styles.
- Metal roofing is known for its durability and energy efficiency. Metal roofs can last up to 50 years with proper maintenance.
- Clay and concrete tiles are ideal for Mediterranean or Spanish-style homes. These tiles are durable and fire-resistant, but they require a strong roof structure due to their weight.
- Slate: Offers a classic and elegant look with excellent durability. Slate roofs can last over a century but are one of the most expensive options.
- Wood Shingles and Shakes: Provide a natural and rustic appearance. They require more maintenance and are less fire-resistant than other materials.
Factors to Consider:
- Climate: Choose a material that can withstand the weather conditions in your area. For example, metal roofs are excellent for snowy regions, while clay tiles are suitable for hot climates.
- Aesthetic Appeal: Ensure the roofing material complements the style and color scheme of your home.
- Longevity and Maintenance: Consider the lifespan and maintenance requirements of the material. Some materials, like metal and slate, offer long-term durability with minimal upkeep.

Step 3: Prepare Your Home for Roof Replacement
Proper preparation is essential to ensuring a smooth and efficient roof replacement process. This is one of the crucial roof replacement steps that involves making your home and property ready for the work ahead.
Steps to Prepare:
- Clear the Area: Remove vehicles, outdoor furniture, and any other items from the vicinity of your home. This provides a safe working environment for the roofing crew.
- Protect Interior Spaces: Cover furniture and belongings in the attic and upper floors with plastic sheeting to protect them from dust and debris.
- Notify Neighbors: Inform your neighbors about the upcoming project. Provide them with the expected timeline and any potential disruptions, such as noise and debris.
- Plan for Pets and Children: Keep your pets and children away from the work area for their safety. Consider making arrangements for them to stay with friends or family during the project.
Safety Measures:
- Access to the Roof: Ensure that the roofing crew has clear and safe access to your roof. This might involve removing obstacles like tree branches or moving vehicles.
- Electrical Safety: Identify any overhead power lines near your home and ensure they are marked and avoided during the project.
- Emergency Plans: Have a plan in place for any unexpected situations, such as severe weather, that could impact the roofing project.
Step 4: Remove the Old Roof
The next step involves removing the existing roofing material to prepare for the installation of the new roof. This process, known as tear-off, is a crucial part of the roof replacement steps, ensuring a solid foundation for the new roof
Steps to Tear-Off:
- Strip the Roof: Remove all old shingles, underlayment, and any damaged flashing. This exposes the roof deck and allows for a thorough inspection.
- Inspect the Roof Deck: Once the old materials are removed, inspect the roof deck for any signs of damage, such as rot or structural issues. Repair or replace any damaged sections to ensure a strong base for the new roof.
- Clean the Surface: Sweep and clean the roof deck to remove any debris, nails, or dirt. A clean surface ensures that the new underlayment and shingles adhere properly.
Tools and equipment:
- Roofing Shovel: A specialized tool designed for removing shingles and nails efficiently.
- Pry Bar: Useful for removing flashing and stubborn nails.
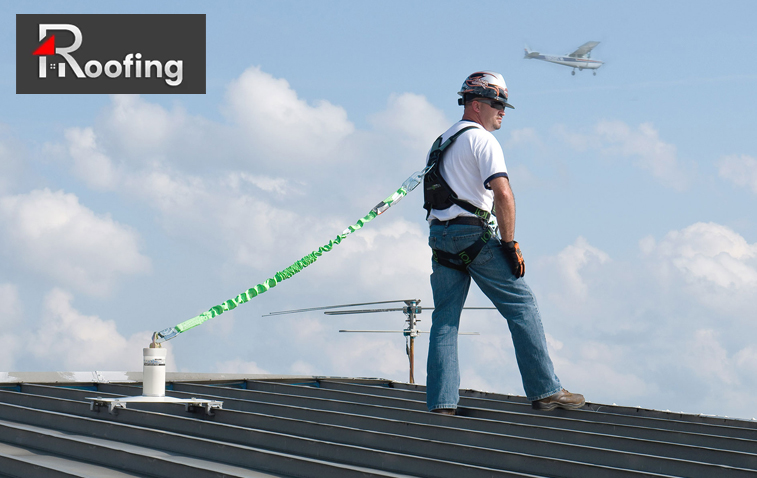
- Safety Gear: Wear appropriate safety gear, including gloves, goggles, and a harness, to protect yourself during the tear-off process.

Step 5: Install the underlayment and flashing
Installing a high-quality underlayment and flashing is crucial for protecting your roof from water damage and ensuring its longevity.
Underlayment Installation:
- Choose the Right Underlayment: There are different types of underlayment, including asphalt-saturated felt, rubberized asphalt, and synthetic underlayment. Each type offers varying levels of protection and durability.
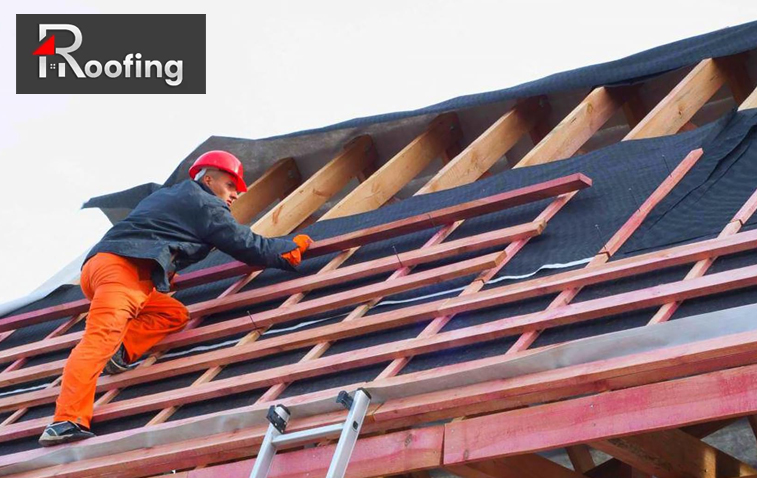
- Lay the Underlayment: Start at the bottom edge of the roof and work your way up, overlapping each row to ensure complete coverage. Secure the underlayment with roofing nails or staples.
- Seal Joints and Valleys: Pay special attention to roof valleys and joints, ensuring they are adequately covered and sealed to prevent water infiltration.
Flashing Installation:
- Identify Vulnerable Areas: Flashing should be installed around roof penetrations, such as chimneys, vents, and skylights, as well as along roof edges and valleys.
- Use Quality Materials: Choose durable, weather-resistant flashing materials, such as galvanized steel or aluminum.
- Proper Sealing: Ensure that all flashing is securely fastened and sealed with roofing cement or sealant to create a watertight barrier.
Step 6: Install the New Roofing Material
With the underlayment and flashing in place, it’s time to install the new roofing material. This step requires precision and attention to detail to ensure a professional and long-lasting installation.
Steps for Installation:
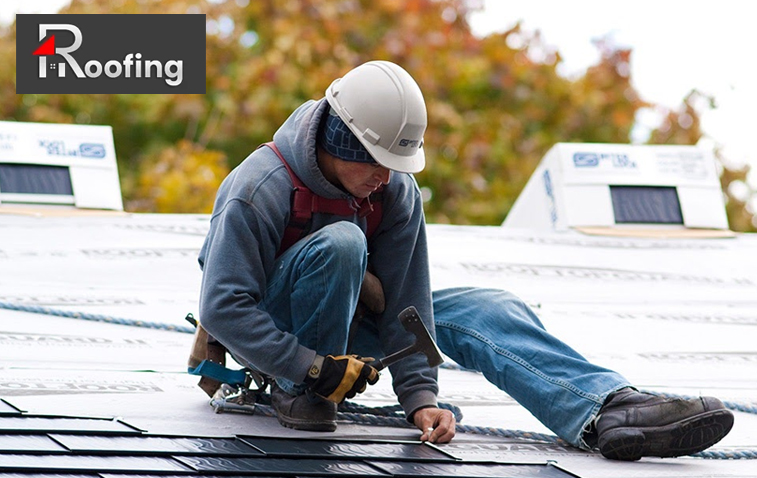
- Start at the Bottom Edge: Begin installing the new roofing material at the bottom edge of the roof and work your way up. This ensures proper water runoff and alignment.
- Follow Manufacturer Guidelines: Adhere to the manufacturer’s installation guidelines for the specific roofing material you are using. This includes proper nailing patterns, spacing, and overlapping.
- Install Ridge Vents: Ridge vents are essential for proper attic ventilation. Install them along the roof ridge to promote airflow and prevent heat and moisture buildup.
Tools and Techniques:
- Roofing Nailer: Use a roofing nailer to secure shingles or tiles quickly and efficiently.
- Chalk Line: A chalk line helps ensure straight and even rows of shingles or tiles.
- Cutting Tools: Use a utility knife or tin snips to trim shingles or tiles to fit around roof edges and penetrations.
Step 7: Final Inspection and Cleanup
The final step in the roof replacement process is conducting a thorough inspection and cleanup to ensure all roof replacement steps are completed to the highest standards.
Inspection Checklist:
- Check for Uniformity: Inspect the new roof for uniformity in color, alignment, and spacing. Ensure that all shingles or tiles are securely fastened.
- Inspect Flashing and Seals: Verify that all flashing is properly installed and sealed and that there are no gaps or exposed areas.
- Test Ventilation: Ensure that ridge vents, soffit vents, and other ventilation components are functioning correctly.
Cleanup Process:
- Remove Debris: Collect and dispose of all roofing debris, including old shingles, nails, and packaging materials. Use a magnetic tool to pick up any stray nails in the yard.
- Inspect Property: Walk around your property to ensure that all debris has been removed and that there is no damage to landscaping or outdoor structures.
- Final Walkthrough: Conduct a final walkthrough with the roofing crew to address any concerns and ensure your satisfaction with the completed project.
Conclusion
A successful roof replacement involves careful planning, choosing the right materials, and following systematic roof replacement steps to ensure quality and longevity. By conducting a thorough inspection, selecting appropriate materials, preparing your home, and meticulously installing and inspecting the new roof, you can achieve a durable and aesthetically pleasing result. Regular maintenance and timely repairs will help extend the life of your new roof, providing peace of mind and protection for your home.


